
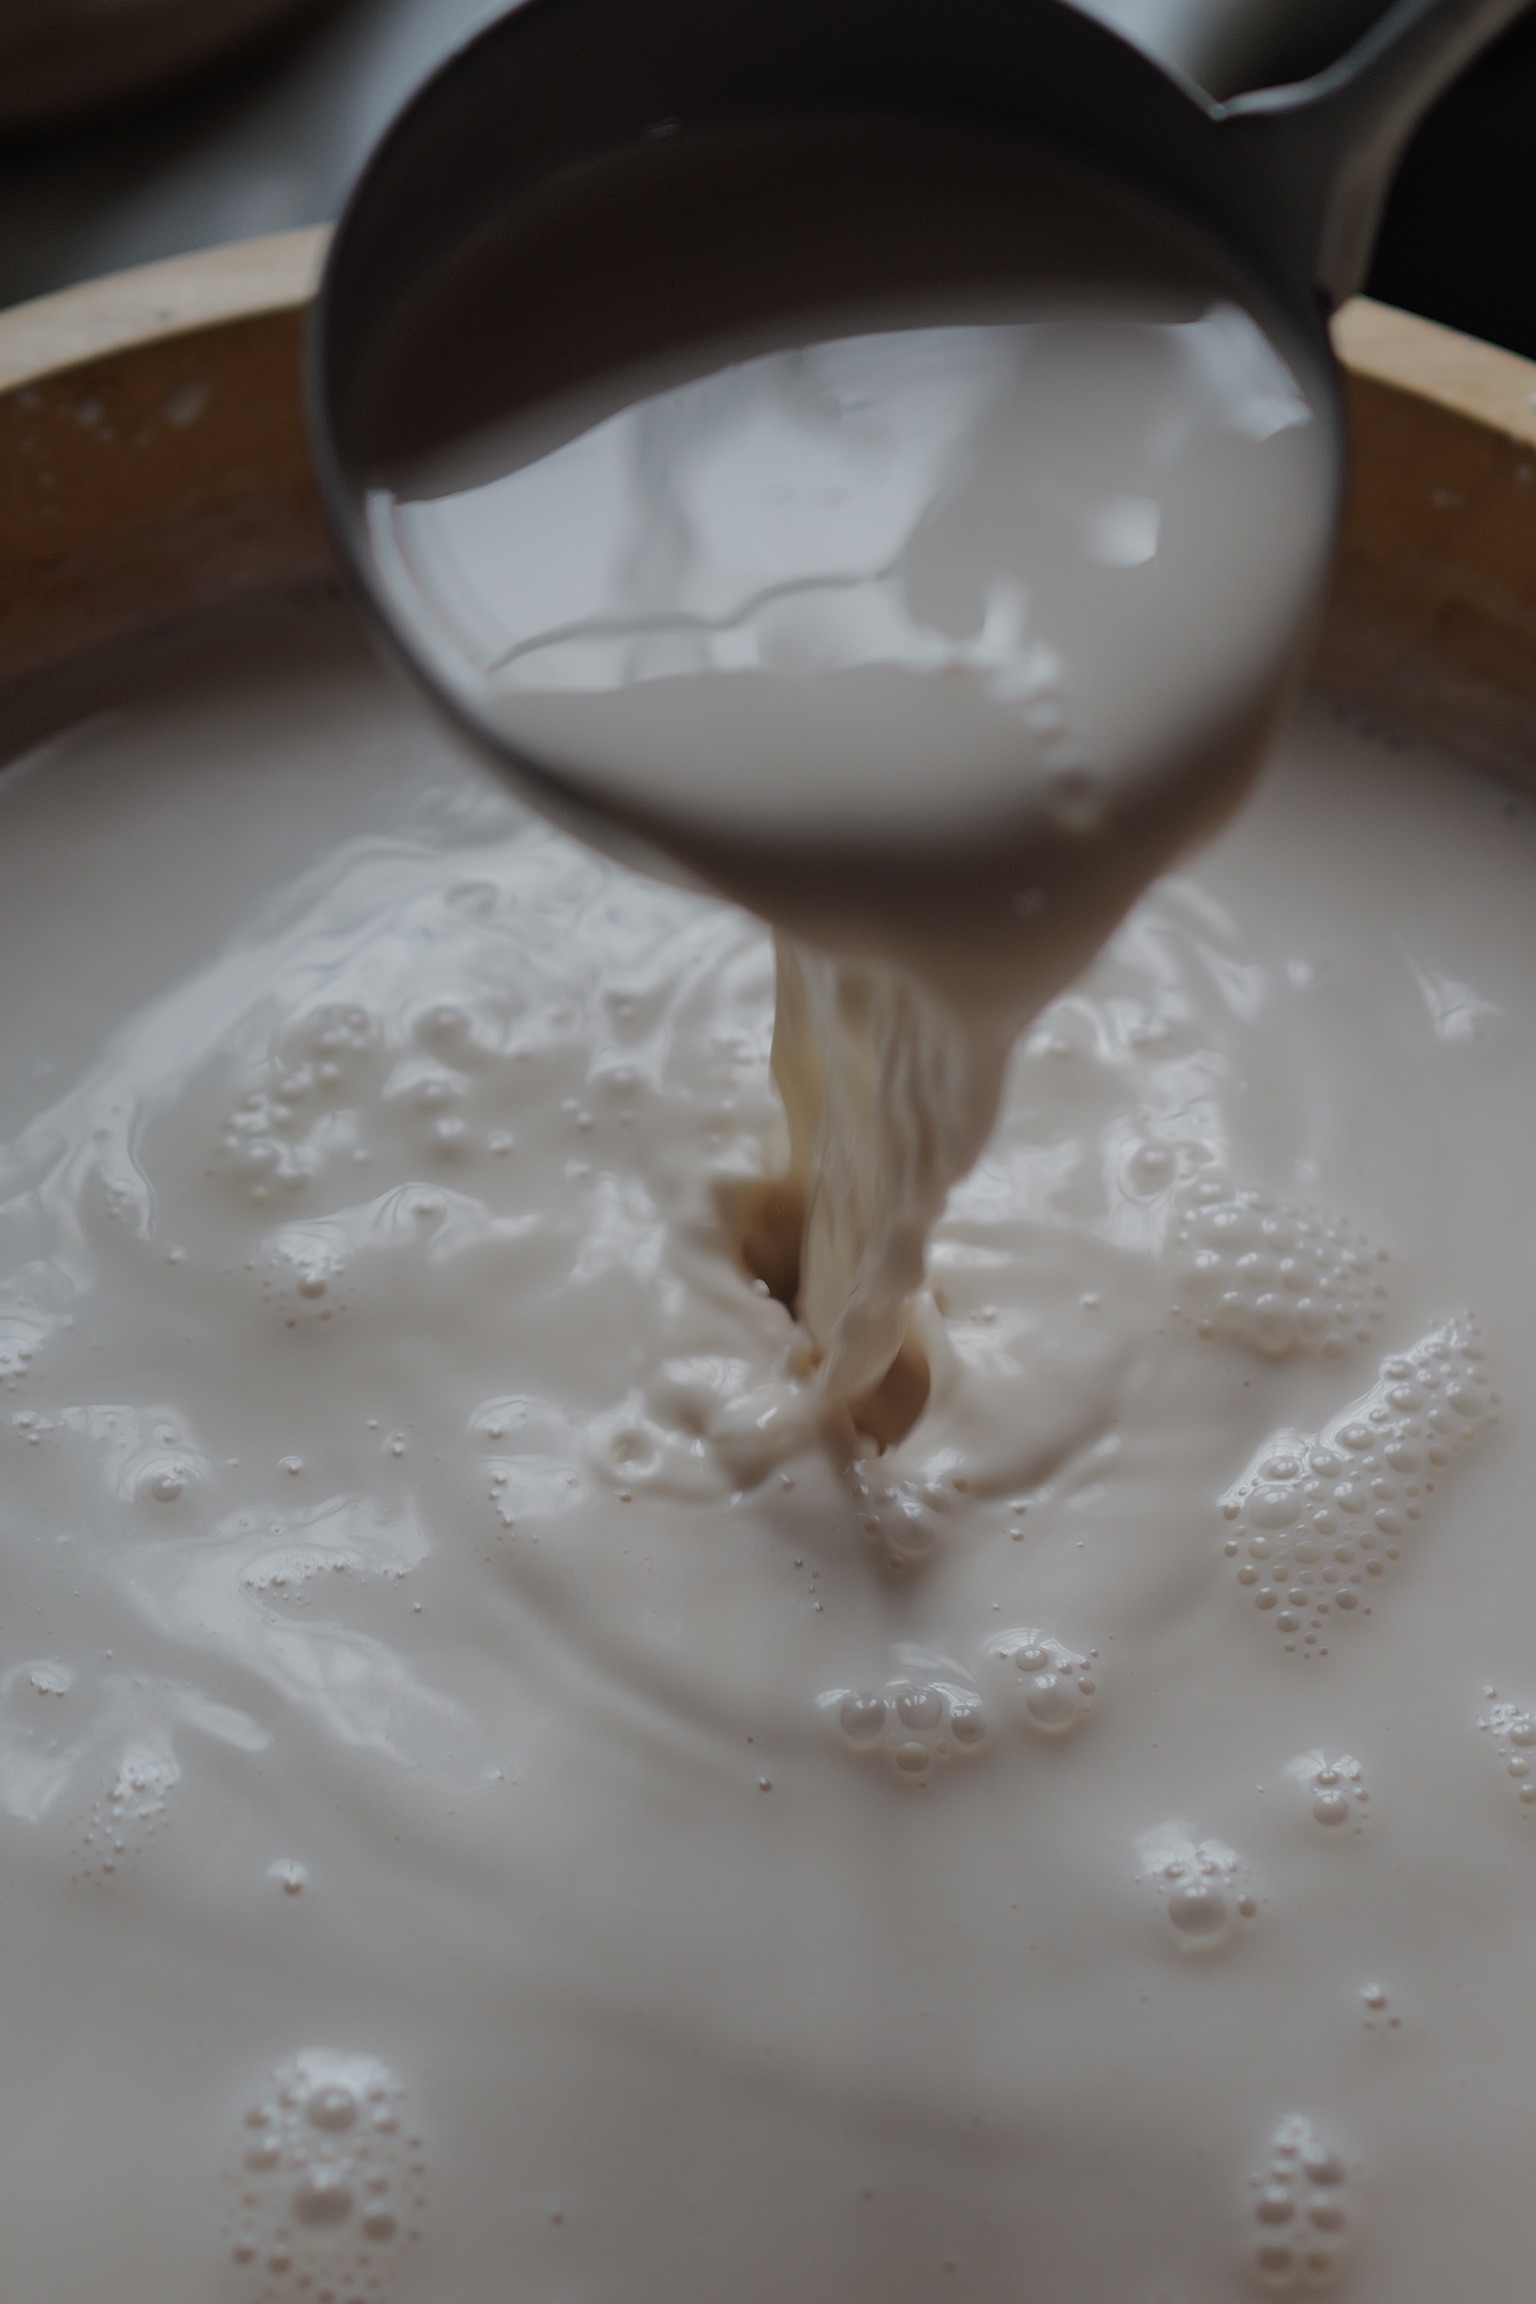
Homemade Almond Milk, Two Ways
Blender or Cold Press Juicer
I have been making almond milk at home for over ten years now, and it was one of those switches I made in the kitchen where I literally went, okay, I can never go back to carton milk again. Don’t get me wrong, when I travel I still have carton milk, but I cannot wait to come home and have my homemade almond milk. And it isn’t just about drinking it straight or with cereal or dunking a cookie in it, although yes to all of that. It’s my matcha latte in the morning, or your coffee if that’s more your thing, and how completely different it tastes when it’s made with real almond milk. It changes the whole experience of your morning and I genuinely look forward to it so much. So here are the two ways I make it. I highly recommend trying the cold press juicer route, because it gives you the creamiest result by far. But if you already have a blender and you just want to try this at home, the blender works really well too. One thing you’ll notice is that I use a lot of almonds. That’s on purpose. The thicker it is the creamier it is, because that’s where all the protein and fat is, and it’s just incredibly tasty that way. Watery almond milk is not really the vibe. I hope you love these.
- If you’re in Europe: These organic Italian almonds on Amazon are what I use. Italian almonds are a completely different experience, they’re sweeter and rounder and you can genuinely taste it in the milk.
- If you’re in the US: Nuts.com is where I used to order from, because you can buy in bulk, and if you’re making this weekly you’ll want to.
- Nama cold press juicer: only if you’re doing the juicer version. This is the one I use and the only one I recommend. My code SHAYNA10 is built into that link.
- Nut milk bag: you need this for both versions. Get a good one, the cheap ones tear on you right when the bag is full.
- Farmhouse Pottery bowl: you want something big and wide to squeeze into, and this one is beautiful enough that I just leave it out on the counter.
- A blender, if you’re doing the blender version.
- Glass bottles for storing. Glass only please, it tastes better and it keeps better.
- Filtered water. It’s most of what you’re drinking, so it matters.
- Put your almonds in a bowl and cover them generously with filtered water, at least a couple of inches above the almonds, because they swell a lot.
- Leave them on the counter overnight, or for 8 to 12 hours.
- In the morning, drain them into a colander and rinse them really well under fresh water. The soaking water goes down the drain, you never use it, it’s cloudy and a little bitter and that’s exactly the stuff you’re trying to get rid of.
- 2 cups organic raw almonds, soaked overnight and rinsed
- 6 cups filtered water
- A pinch of good salt
- 1 teaspoon vanilla extract, or 1 whole vanilla bean, split and scraped (optional, but so good)
- Add your soaked and rinsed almonds to the blender with the 6 cups of filtered water, the pinch of salt, and the vanilla.
- Blend on high for a full 60 to 90 seconds. You want it completely white and frothy with no visible bits of almond bouncing around. Don’t rush this part, the longer you blend the more you get out of your almonds.
- Set your nut milk bag inside your big bowl and pour the whole thing in slowly.
- Gather the top of the bag, lift, and squeeze. Work your way down the bag with both hands, wringing it out like you’re wringing out a washcloth, and keep going until the pulp inside feels dry and crumbly and nothing more comes out. This is the workout part and it’s worth doing properly, because there’s a surprising amount of milk left in there if you stop early.
- Pour into your glass bottles and refrigerate.
- Organic raw almonds, soaked overnight and rinsed (however much you want, this method scales to whatever you’ve got)
- Filtered water, roughly equal in volume to your almonds
- A pinch of good salt
- Vanilla extract or a scraped vanilla bean (optional)
- Put your soaked, rinsed almonds back into a bowl and add filtered water, enough that the almonds are swimming in it.
- Turn on your Nama and ladle the almonds and water in together, equal parts almonds to water with each ladleful. Go slowly and let the juicer catch up between ladles, don’t dump everything in at once.
- Let it press all the way through. You’ll get milk out of one spout and pulp out of the other.
- Set your nut milk bag in your big bowl and pour the pressed milk through it, then squeeze it out the same way as above. It won’t take nearly as much effort as the blender version because the juicer already did most of the work, but do it anyway, it catches the last of the fine sediment and it’s what makes the texture perfect.
- Stir in your salt and vanilla now, at the end, rather than before pressing.
- Bottle and refrigerate.
NOTES:
A note on ratios:Because you’re ladling as you go, this one is more of a feel than a formula. Equal parts almonds and water going into the machine gives you a beautifully rich milk, which is how I like it. If you want it thinner, just stir a little extra filtered water into the finished milk until it’s where you want it.
Storing it: Keep it in glass in the fridge and drink it within 3 to 4 days. It will separate, and that’s not a problem, that’s what real almond milk does when there’s nothing in it holding it together. Just shake the bottle before you pour.
Don’t throw away the pulp: You’ll be left with a bowl of damp almond pulp and it’s genuinely useful, so don’t bin it.Spread it thin on a baking sheet and dry it out in a low oven, around 170°F or 75°C, for a couple of hours until it’s completely dry, then blitz it in a blender or food processor and you have almond flour. Store it in a jar in the freezer and use it for baking. If you don’t want to bother with drying it, just keep it in the fridge and throw a spoonful into your smoothies over the next few days, or stir it into oatmeal, or fold it into energy balls.
Reviews
Submit your review | |



